


If your Arduino does not show up on any USB COM ports even if you flashed a fresh bootloader, it may be because the sketch you flashed has messed up your USB serial settings on the Arduino. This sketch will prevent the Arduino showing up as a com port in Windows because the flashed sketch starts immediately upon reset and “blocks” the normal USB COM operation.
Solution:
1) re flash the bootloader with an ISP connected to the 6 pin header. I use a USBasp (cheap ISP clone).
2) Just so you KNOW the bootloader is installed. You can check that the bootloader is operational by plugging in the board thru the USB COM port (when you already have an open hardware manager windows in Windows).
You should see briefly a new COM device named “Arduino [name of board] bootloader”. This COM device will quickly disappear again if you have a sketch messing up the serial settings.At least you know the bootloader should be OK.
3) Upload a completely empty sketch WITH THE ISP device. Important!:Do that upload with the ISP and NOT via the USB serial cable.
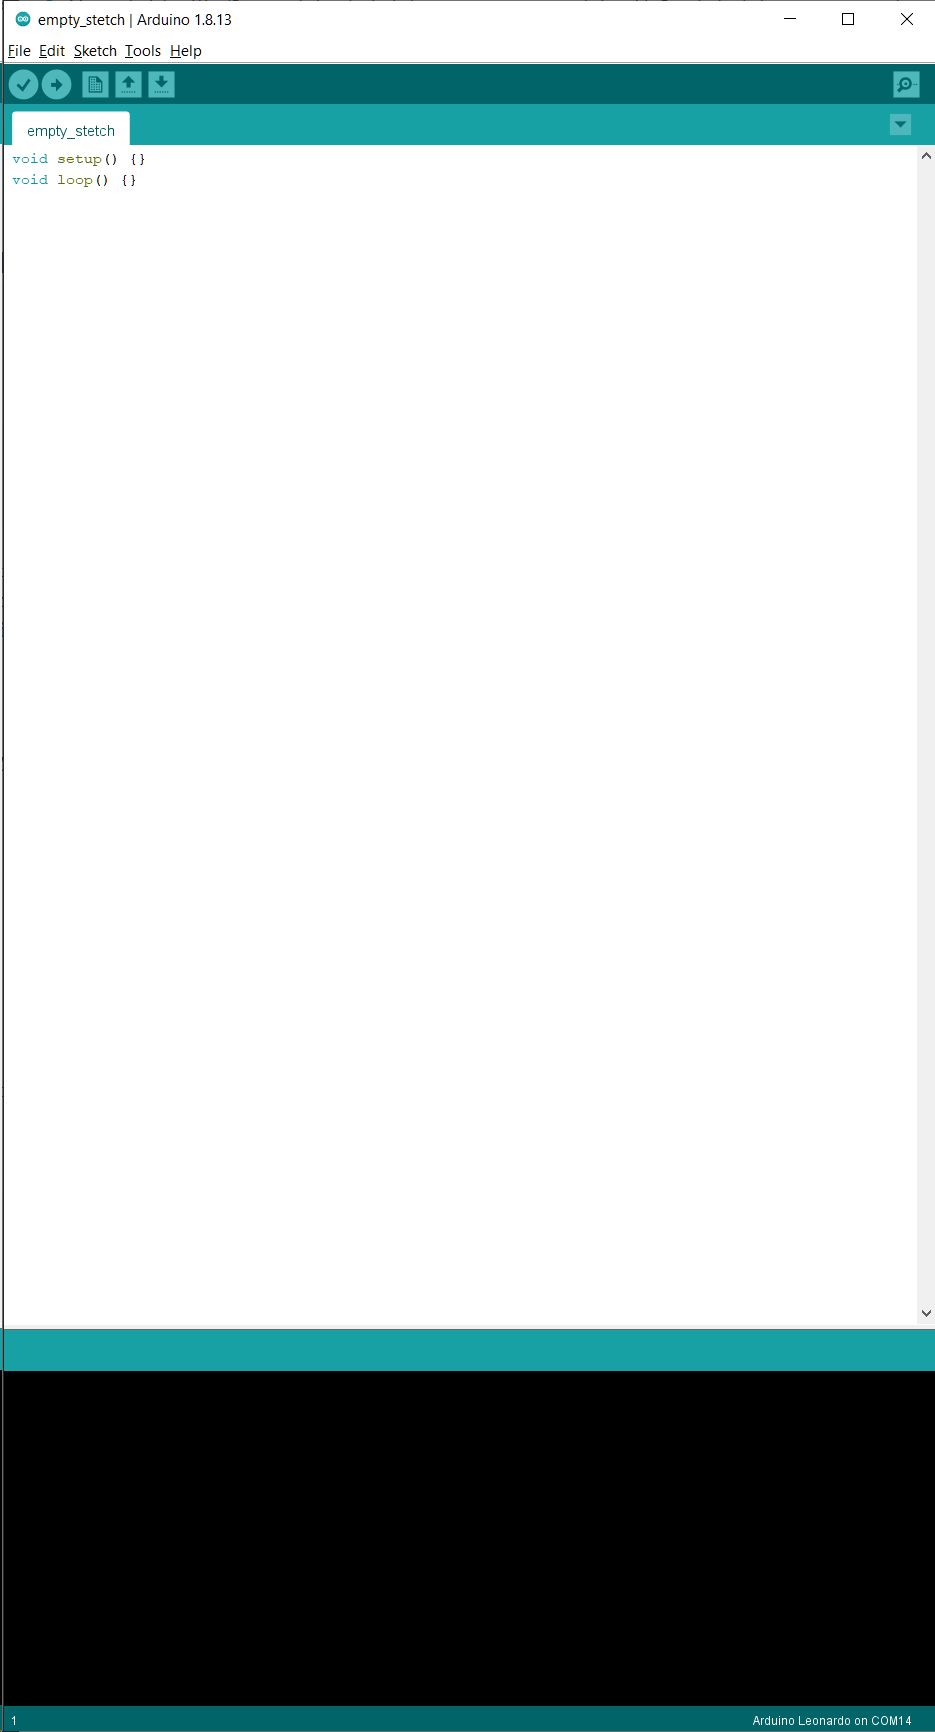
This is a completely empty sketch you can use:
void setup() {}
void loop() {}
I have fixed several dead Arduino boards that I suspected had hw problems this way. In fact the boards were OK. The problem was that a sketch already installed messed up the serial settings. The bootloader and hw was completely ok.

 Professional software developers of time critical code often use a real time operating system (RTOS) in their work. The reason is that the OS is taking care of timing and scheduling tasks with higher priority. Now you can easily use an RTOS on your Arduino as well! Read Jain Risbah’s article over at circuitdigest:


